Use Azure AD as your Authentication Provider
This guide will walk you through the steps necessary to configure Azure Active Directory as the authentication provider for Okteto.
Please refer to Azure's official documentation on Open ID Connect for more information.
Prerequisites
- A working installation of Okteto
- Helm 3.0+ installed in your local machine
- Access to an Azure account with permissions to registrate applications in Azure Active Directory
Create an App Registration
Create a new app integration, using the values below:
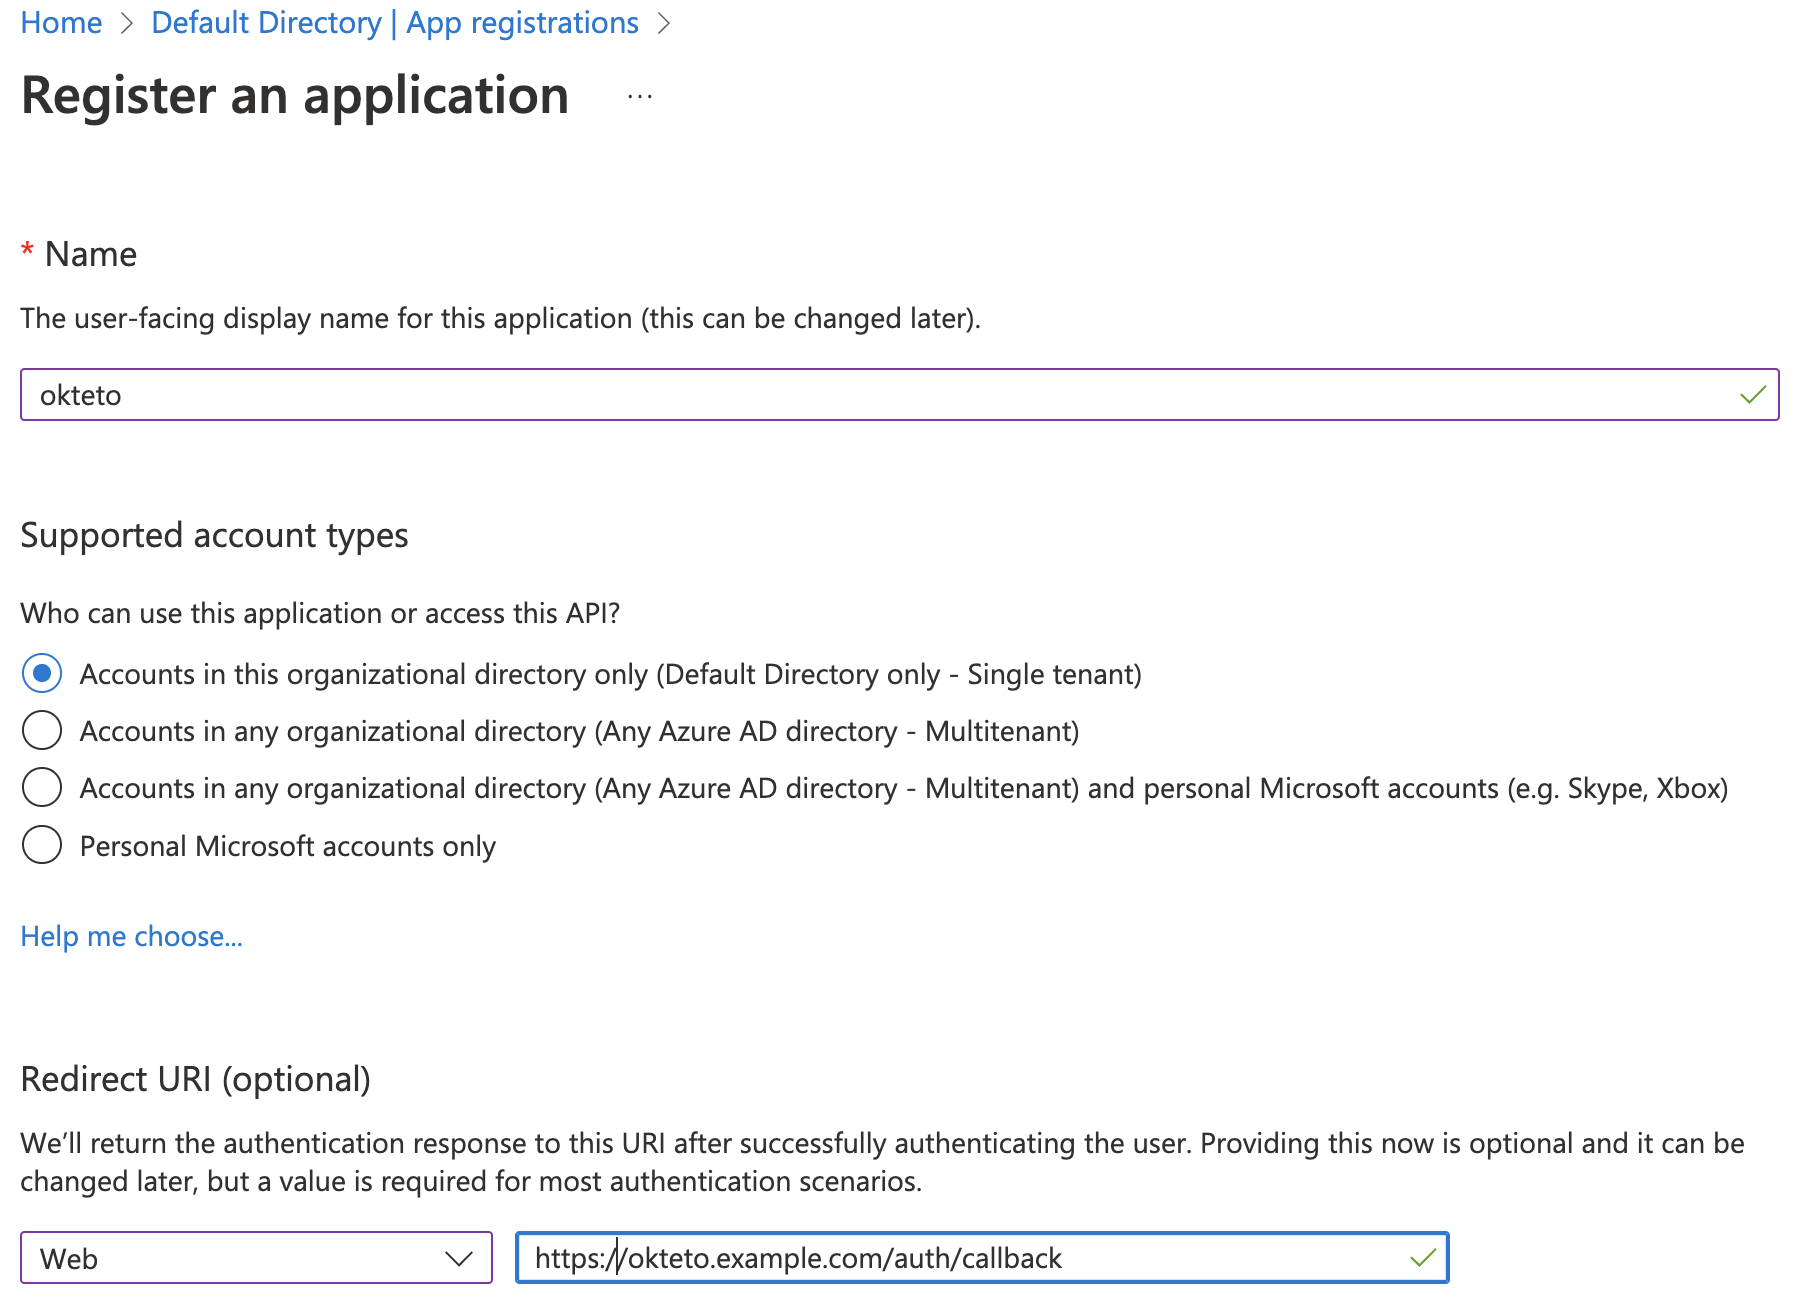
Then, fill in the following values on the “Register an application” window:
- Name: The name of your application (e.g.
okteto) - Accounts in this organizational directory only (Default Directory only - Single tenant)
- Redirect URI: https://okteto.{YOUR_DOMAIN}/auth/callback
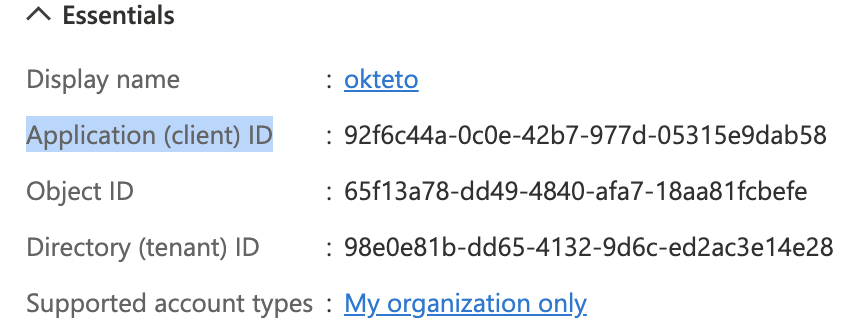
Once the application has been created, save the Application (client) ID value. You'll need it to configure your Okteto Instance.
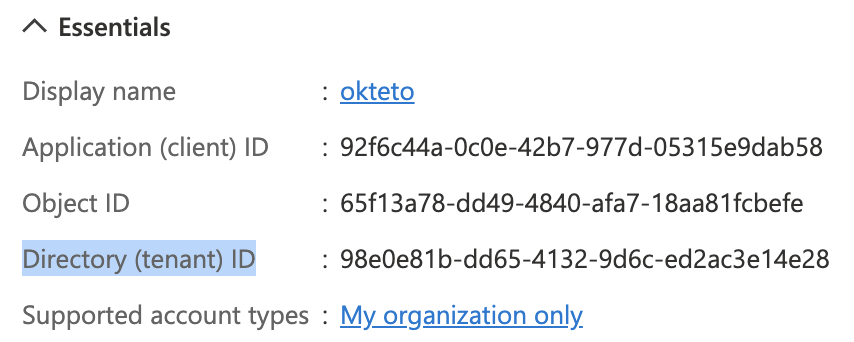
Copy the Directory (tenant) ID value. You'll need it to configure your Okteto Instance.
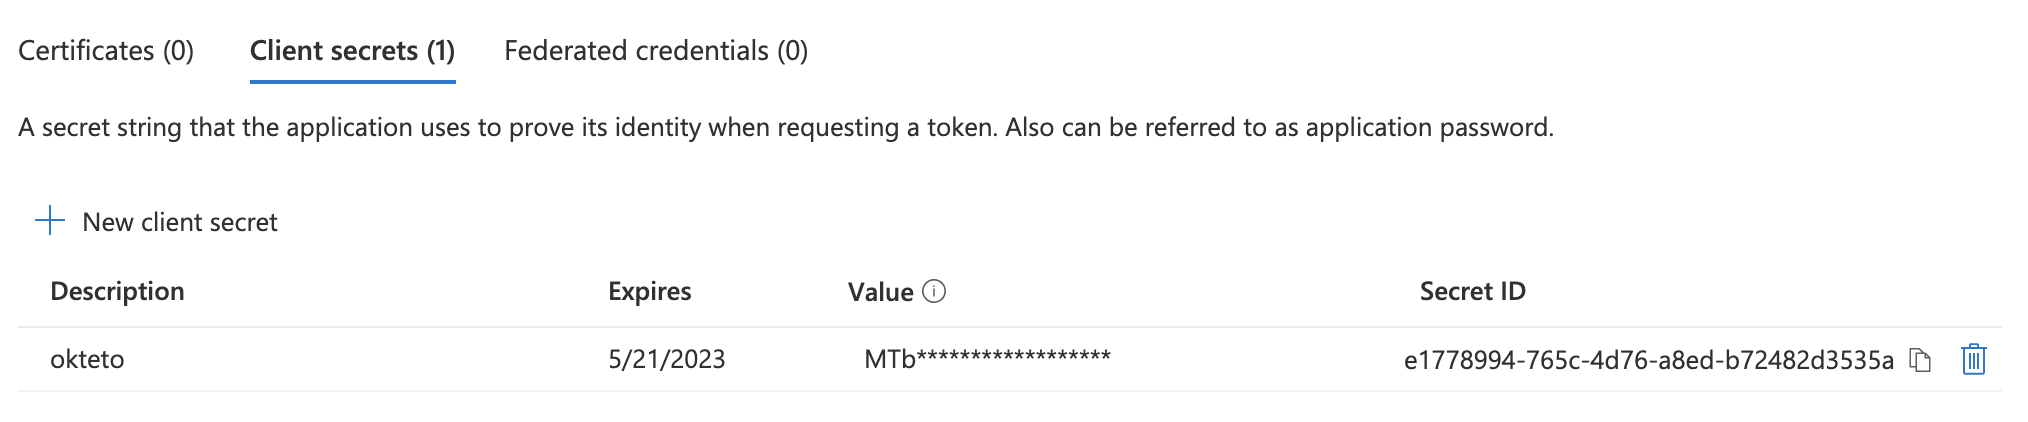
On the left menu, click on "Certificates & secrets". Create a "New client secret" and copy the Value. You'll need it to configure your Okteto Instance.
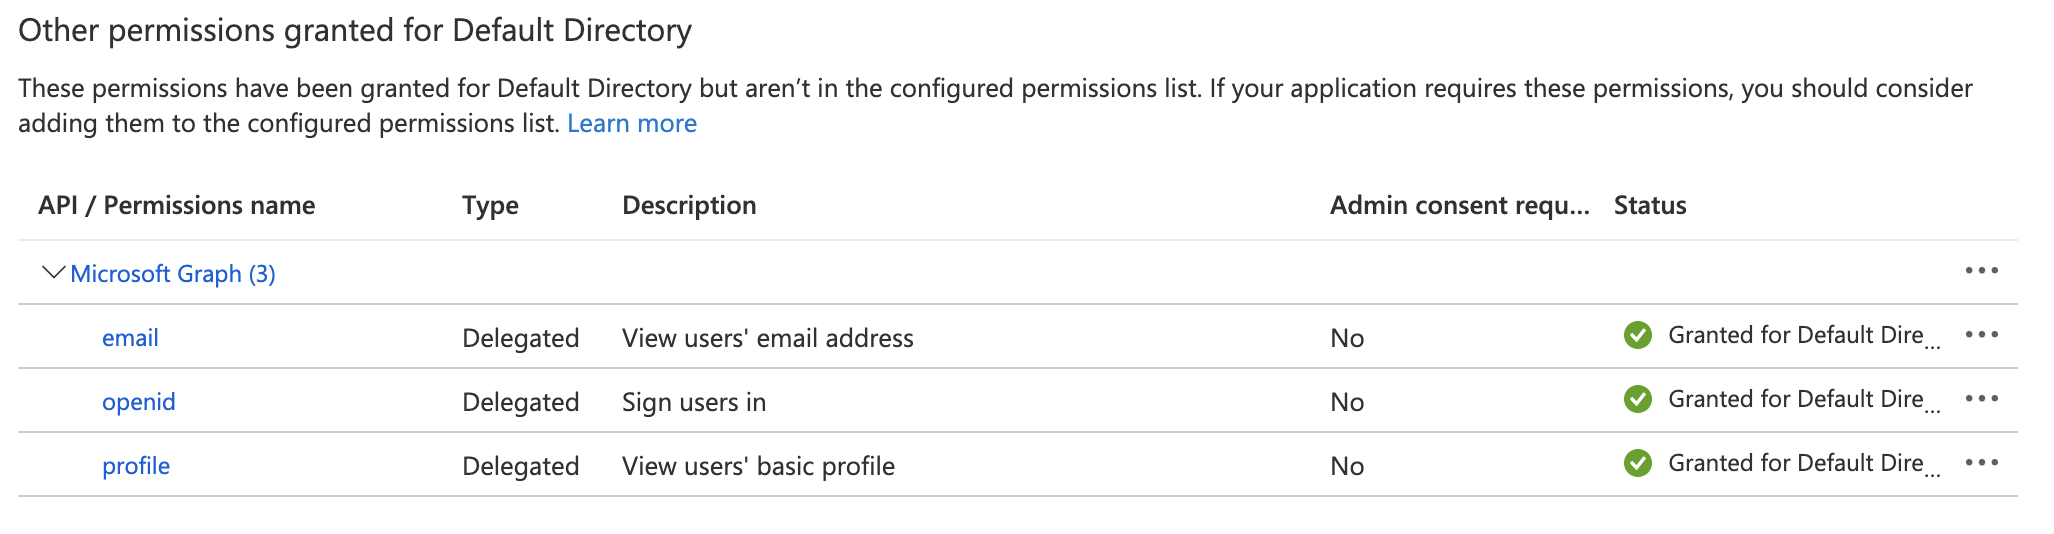
On the lest menu, click on "API permissions" and grant the following permissions:
Configure Okteto
Once you have the Okta application ready, update the auth section of your Okteto Helm configuration file with the values you obtained on the first step of this guide:
auth:
  openid:
    enabled: true
    clientId: $CLIENT_ID
    clientSecret: $CLIENT_SECRET
    endpoints:
      issuer: https://sts.windows.net/$TENANT_ID/
      authorization: https://login.microsoftonline.com/$TENANT_ID/oauth2/v2.0/authorize
    mapping:
      externalIDKey: email
You can also store the value of clientSecret as a secret directly in Kubernetes.
Upgrade your Okteto instance for the new configuration to be applied. We recommend that you upgrade to the same version that you already have to minimize the changes and help you troubleshoot any issues.
Once the upgrade has been completed, go to your instance and click on the Log In button to access your instance. If everything is configured correctly, Okteto will now use your Azure Active Directory for user authentication.
Customize the attributes that Okteto consumes
By default, Okteto will use the following attributes below when creating a user:
Nameas the display name of the user.Nicknameas the username of the user.Emailas the email. Addresses must contain only lowercase alphanumeric characters, '-', or '.'Picture URLfor the user's profile picture.
If you are not using some of those values, or you want to customize which attributes get mapped, you can customize that by using the mapping field inside the openid key in your Helm configuration file.
auth:
  openid:
    enabled: true
    clientId: $CLIENT_ID
    clientSecret: $CLIENT_SECRET
    endpoints:
      issuer: https://sts.windows.net/$TENANT_ID/
      authorization: https://login.microsoftonline.com/$TENANT_ID/oauth2/v2.0/authorize
    mapping:
      externalIDKey: nickname
      nameKey: name
      emailKey: email
      pictureKey: picture
The value of every key in the mapping section must match a claim in your Azure Active Directory + OpenID configuration, and it must contain a non-empty value.