Leveraging Okteto Pipelines for Your Preview Environments

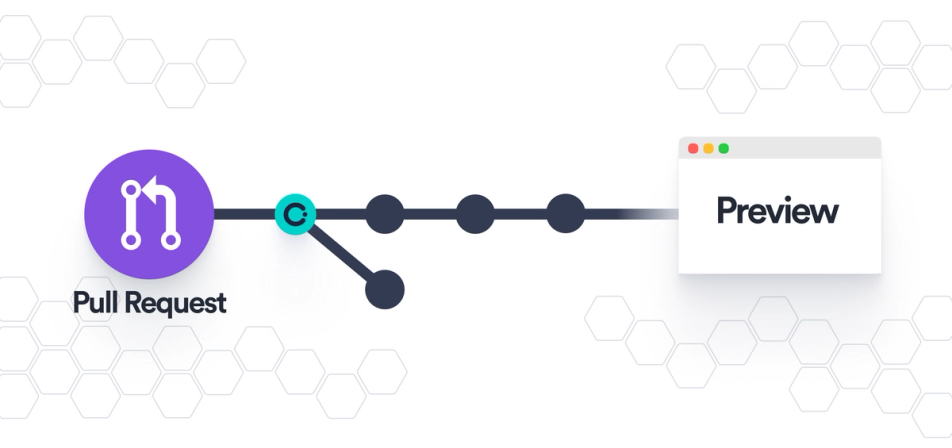
Okteto's Preview Environments allow you to browse a deployed version of each pull request made to your repository. This can be very useful for getting feedback early on in the development cycle. Not just that, since you get a sharable URL for each PR, the review process can now also be extended to non-technical members of the team by showing them the live preview!
I'm not going to cover how you can set up Preview Environments using Okteto in this article because that is already well documented here. Instead, what we will take a look at is how you can leverage Okteto Pipelines to have more control over how your Preview Environments get deployed.
If you do not set up an Okteto Pipeline for the repository you're configuring Preview Environments for, then Okteto Cloud will automatically try to detect how to deploy your application based on any existing deployment-related manifests it finds there. Okteto Pipelines instead help you in two cases:
-
Okteto Cloud is not able to automatically detect how to deploy your application.
-
Okteto Cloud is able to detect that, but you want more control over how your application gets deployed - do custom builds and all the other cool stuff! :P
Now that you know the benefits of combining Preview Environments with Okteto Pipelines, let's see how we can actually do that!
The two things you'll need for this are:
- A
preview.yamlfile for the Preview Environments GitHub action. - An
okteto-pipeline.yamlfile for the Okteto Pipeline we'll be configuring.
The preview.yaml file will set up the GitHub action responsible for creating your preview environment in Okteto Cloud every time a pull request is made. The okteto-pipeline.yaml, on the other hand, is responsible for how the application gets deployed each time a Preview Environment needs to be spun up.
Setting Up the Okteto Pipeline
Let us take the example of this voting application which uses a lot of different things - a Java frontend, a Kafka queue, a Golang worker, a Postgres database, and a Node.js web app! Lots of things, right? One would assume that a lot of complicated YAMLs are required to configure how to deploy this app but nope, all you need is a single okteto-pipeline.yaml. Note that this is possible because different components of this app have been packaged as helm charts beforehand. You will need to do something similar for the individual microservices in your application before leveraging Okteto Pipelines to deploy the entire app. Let's see how the Okteto Pipeline YAML would look for this application:
deploy:
 - helm repo add bitnami https://charts.bitnami.com/bitnami
 - helm upgrade --install postgresql bitnami/postgresql -f postgresql/values.yml --version 10.16.2
 - helm upgrade --install kafka bitnami/kafka -f kafka/values.yml --version 14.5.0
 - okteto build -t okteto.dev/result:${OKTETO_GIT_COMMIT} result
 - helm upgrade --install result result/chart --set image.tag=${OKTETO_GIT_COMMIT}
 - okteto build -t okteto.dev/vote:${OKTETO_GIT_COMMIT} vote
 - helm upgrade --install vote vote/chart --set image.tag=${OKTETO_GIT_COMMIT}
 - okteto build -t okteto.dev/worker:${OKTETO_GIT_COMMIT} worker
 - okteto build -t okteto.dev/worker:dev --target dev worker
 - helm upgrade --install worker worker/chart --set image.tag=${OKTETO_GIT_COMMIT}
Before we understand what's happening here, let me take a step back and explain how exactly do applications get deployed on Okteto Cloud based on the Okteto Pipeline.
Okteto Cloud will run a job in a Debian Linux container that clones your repository to get the application code and then simply execute the commands under the deploy section. In this container, you already have access to a bunch of tools, including helm, kubectl, okteto, bash, etc. One other thing you have access to in this container is certain environment variables which will be helpful when specifying how to deploy your application. One of these you see here is OKTETO_GIT_COMMIT, which is the latest commit of the repository hosting your application code. Now that you know what happens behind the scenes, it should be a lot easier to understand the above YAML.
Wondering how Okteto Cloud deploys applications if you don't have an Okteto Pipeline setup?
Okteto Cloud works directly with both docker-compose, and Kubernetes manifests. That means if you have such manifests present in your repository, Okteto Cloud will automatically figure out how to deploy your application based on these. You can read more about this here.The first thing we do is add the bitnami chart repository. We'll use this repository to get all the external charts we need to install. This is exactly what we do in the next two commands - installing the Postgres and Kafka charts. If you're not familiar with Helm, I suggest you go look at this post about Helm charts to get yourself up to speed.
Once that is done, we build our application code from the Dockerfile present in the result folder. The okteto build command not only builds the image, but also pushes it to the Okteto Container Registry. When we install this application using the helm chart present here, we pull this image. The rest of the commands in the deploy section do the same thing but for the frontend Java code and the worker Golang code.
You might be wondering why we build the image for the Golang worker twice. If you look carefully, we are using a different target the second time we build the image. The target flag for Okteto CLI works exactly like the one for docker build. The first build of the image is just like the other ones and is the one used by Okteto Cloud when deploying the application. The second one, on the other hand, is used to spin up a Dev Environment. For the purposes of this article, you can pretty much ignore the second build to avoid confusion. And that pretty much is it for this YAML - simple but powerful enough to get the job done!
I hope you can now start to see the benefits of setting up an Okteto Pipeline as opposed to using just manifests to deploy your application to Okteto Cloud. Going the traditional route, you would not be able to build your application each time from the latest code when you deploy. Combining okteto build with helm upgrade lets you do that easily without relying on any other third-party tools!
Setting Up Preview Environments
Once you have the Pipeline all set up, configuring preview environments is no different from following the steps mentioned here. Yup, that's right, no other changes are needed! Preview environments work right of the box with Okteto Pipelines. It is only in the absence of an Okteto Pipeline that Okteto Cloud tries to figure out itself how to deploy your application using existing manifests.
So without repeating the steps to set up a preview environment in detail, you would simply need the YAML for the GitHub action which would look like this:
on:
  pull_request:
    branches:
      - main

jobs:
  preview:
    runs-on: ubuntu-latest
    steps:
    - name: Context
      uses: okteto/context@latest
      with:
        token: ${{ secrets.OKTETO_TOKEN }}

    - name: Deploy preview environment
      uses: okteto/deploy-preview@latest
      env:
        GITHUB_TOKEN: ${{ secrets.GITHUB_TOKEN }}
      with:
        name: pr-${{ github.event.number }}-johndoe
        scope: personal
Remember to replace
johndoein the sample shown with the GitHub account you used (in all small letters) to sign up on Okteto Cloud.
And with that, you're all set. Anytime a pull request gets made targetting the main branch of your repository, a sharable URL will be commented, allowing you to browse the deployed changes in that pull request.
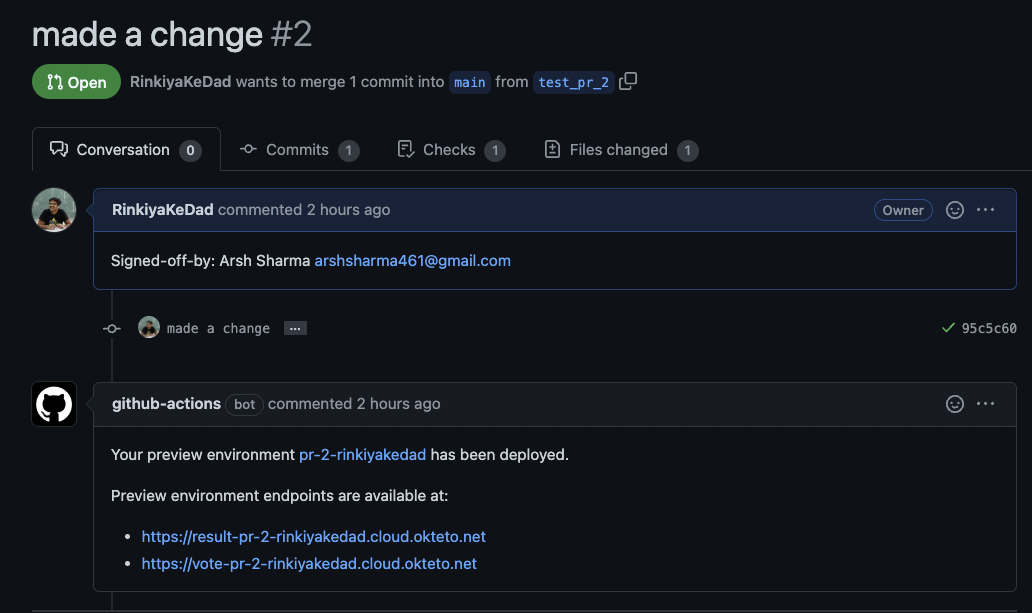
You can check out the PR in the image and see the Preview Environment in action here.
Well that wraps things up for this article. If you need more help related to Preview Environments or Okteto Pipelines, hop on to our slack channel to ask questions. If you're wondering how you or your organization can leverage Preview Environments and Okteto Cloud to ramp up developer productivity, you can book a demo to know more!


 Arsh Sharma