Build your React + Express App in Okteto Cloud

React is a JavaScript library for building user interfaces. It was originally created by Facebook, and over the years it has become one of the most broadly used frontend libraries. React is particularly powerful when building single-page or mobile apps.
You can build your React frontend locally. The local development experience is one of the best there is. But is very likely that, in production, your React frontend is going to to work along with other services, like a backend, or a database. What are you going to do then? Typically you'd end up mocking the backend, or calling a staging version, rendering your local development environments very complex...
In this post I'll show how you can take advantage of the different features of Okteto Cloud to make it easier than ever to build a React application. You can still benefit from React's local development experience, but you'll also have access to a fully integrated, production-like development environment, backend included. Hello okteto up, goodbye production-only bugs 👋🏼!
If you feel like skipping all the instructions, the final version of the application we are building on this post is available here.
Initial Setup
First, install the Okteto CLI. We'll be using it to create out development environment and to build and deploy our application.
MacOS / Linux
$ curl https://get.okteto.com -sSfL | sh
Windows
Download https://downloads.okteto.com/cli/okteto.exe and add it to your $PATH.
Then, create a folder for our code:
$ mkdir my-app
Launch your Development Environment
One of the big advantages of using the Okteto CLI is that it gives us the ability to define and launch development environments directly in Okteto Cloud. This way, we can have all our tools and dependencies pre-installed and available for us with one command, instead of having to mess with local configuration and conflicting setups.
Initialize your development environment by running the okteto init command. Since we are building a React app, we'll pick the javascript template:
$ cd my-app
$ okteto init
Recommended image for development with javascript: okteto/node:10
Which docker image do you want to use for your development environment? [okteto/node:10]:

 ✓  Okteto manifest (okteto.yml) created
This command will create two files in your folder, okteto.yml and .stignore. okteto.yml is what tells the Okteto CLI how your development environment looks like. In this case, it's telling it that you want to use okteto/node:10 as the image, that your workdir is /usr/src/app, and that the starting command will be bash. .stignore tells the Okteto CLI which files not to synchronize to your development environment (more on this later).
Now that we have our manifest, let's launch our development environment. First, let's configute the Okteto CLI context to Okteto Cloud by running the okteto context command. The command will open a browser so you can authenticate with github, and it will download your Okteto Cloud credentials and certificates. If this is the first time using Okteto Cloud, it will also create a free account for you.
$ okteto context use https://cloud.okteto.com
 ✓  Using context cindy @ cloud.okteto.com
 i  Run 'okteto kubeconfig' to set your kubectl credentials
Now that we are logged in, run the okteto up command to launch your development container.
$ okteto up
 i  Using rberrelleza @ cloud.okteto.com as context
 ✓  Files synchronized
    Namespace: rberrelleza
    Name:      my-app

Welcome to your development environment. Happy coding!
okteto>
With this, your development environment is up and running in Okteto Cloud, and you have a remote terminal to access it from (remember the bash command in okteto.yml?). But that's not all. okteto up also keeps your local folder and your remote development environment synchronized. Any file you edit, locally or remote, will be instantly synchronized in the other side (unless it's listed on .stignore).
Create the Initial App
To create the initial skeleton of the application, we're going to be using create-react-app. Run the following command on your remote development environment to build yours:
okteto> npx create-react-app client
npx: installed 99 in 16.715s

Creating a new React app in /usr/src/app/client.

Installing packages. This might take a couple of minutes.
Installing react, react-dom, and react-scripts with cra-template...
...
...
...
We suggest that you begin by typing:

  cd client
  yarn start

Happy hacking!
After a minute or two, the command will finish installing all the required files and dependencies. If you go ahead and open your local IDE you'll see that the files are already there, courtesy of okteto's file synchronization capabilities.
Follow the instructions in the UI (with a small addition) and start your React application:
export PORT=8080
cd client
yarn start
When you launch your development environment in Okteto Cloud, you automatically get a public HTTPS endpoint for it, valid certificate included. All you need to do is make sure that your process starts in port 8080 (that's why I added the export in the commands above). This way you can start accessing your application the same way your users are going to, from the very beginning. Get the URL of the endpoint by going to Okteto Cloud:
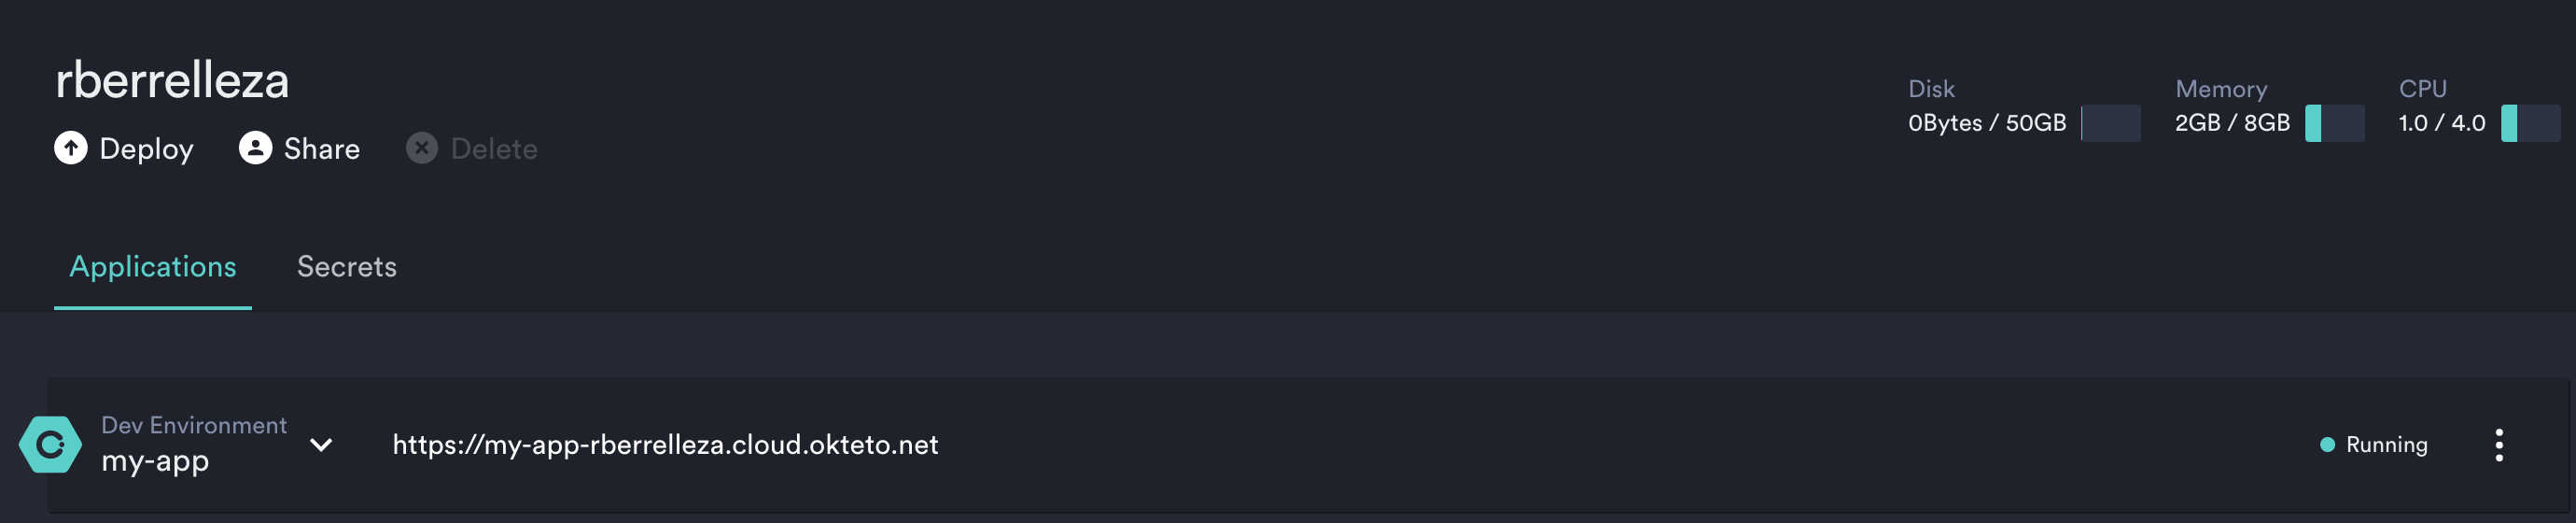
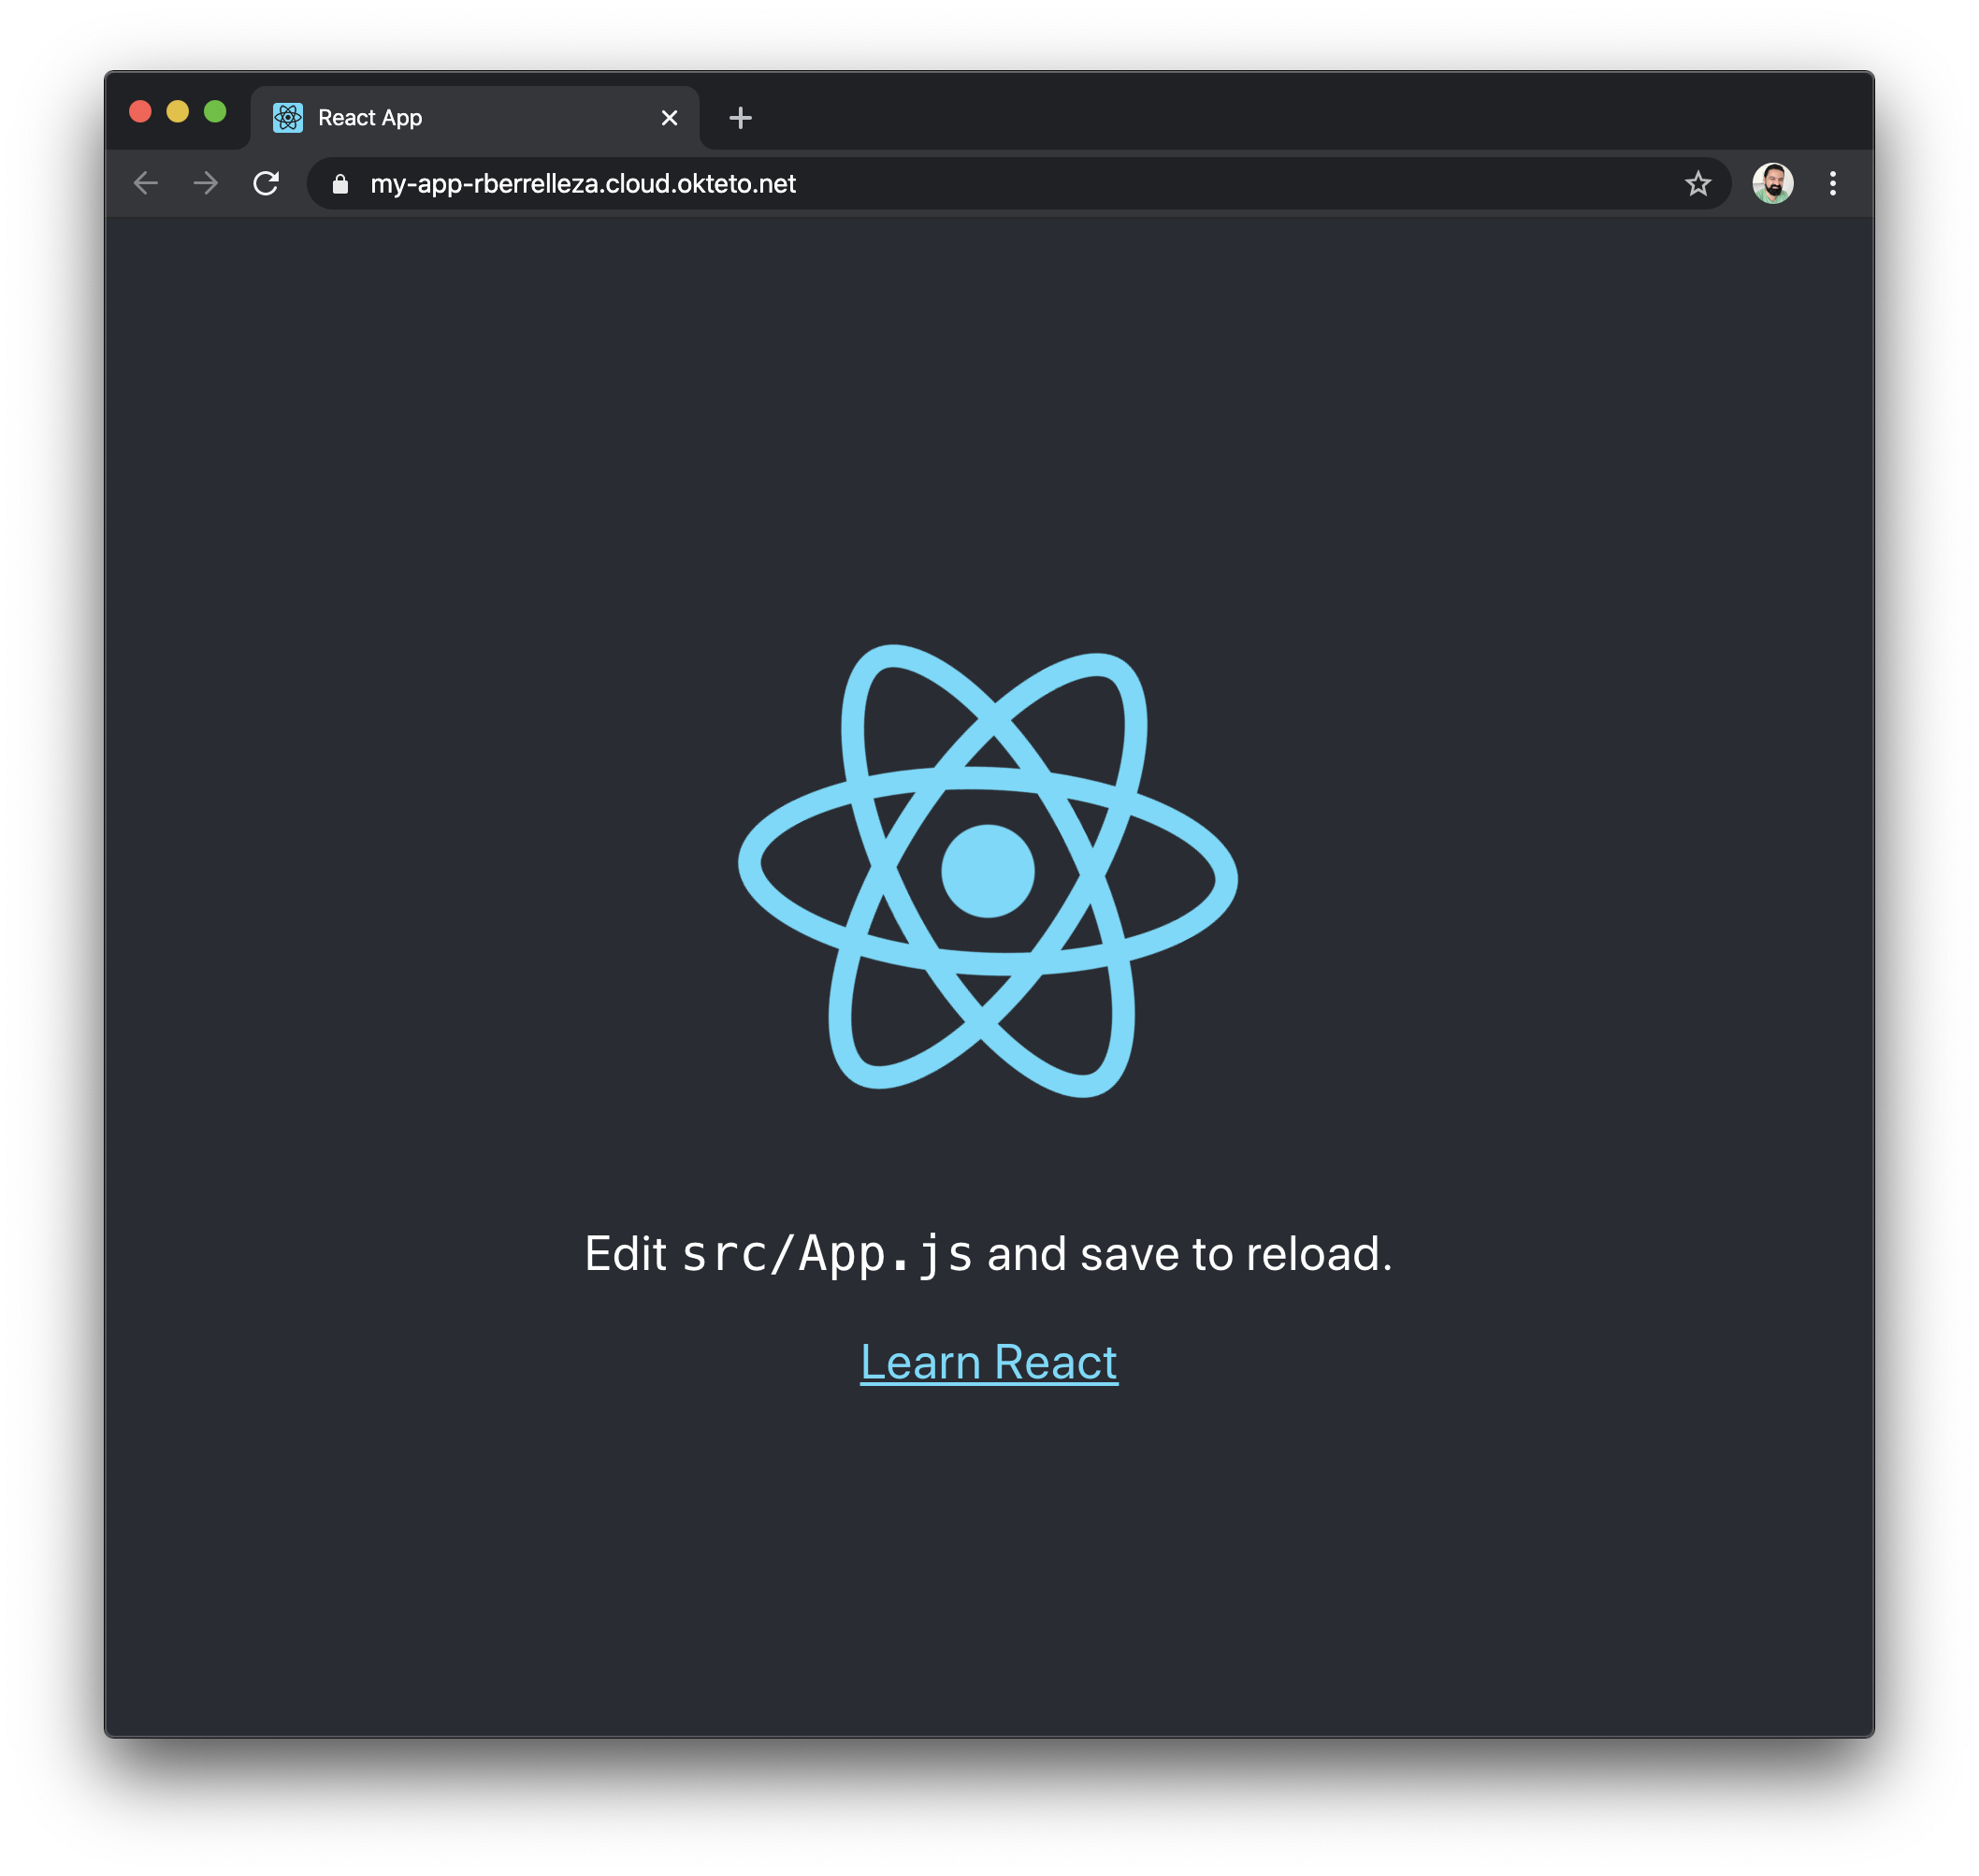
Click on the URL to see your application live in Okteto Cloud!
Develop your Application
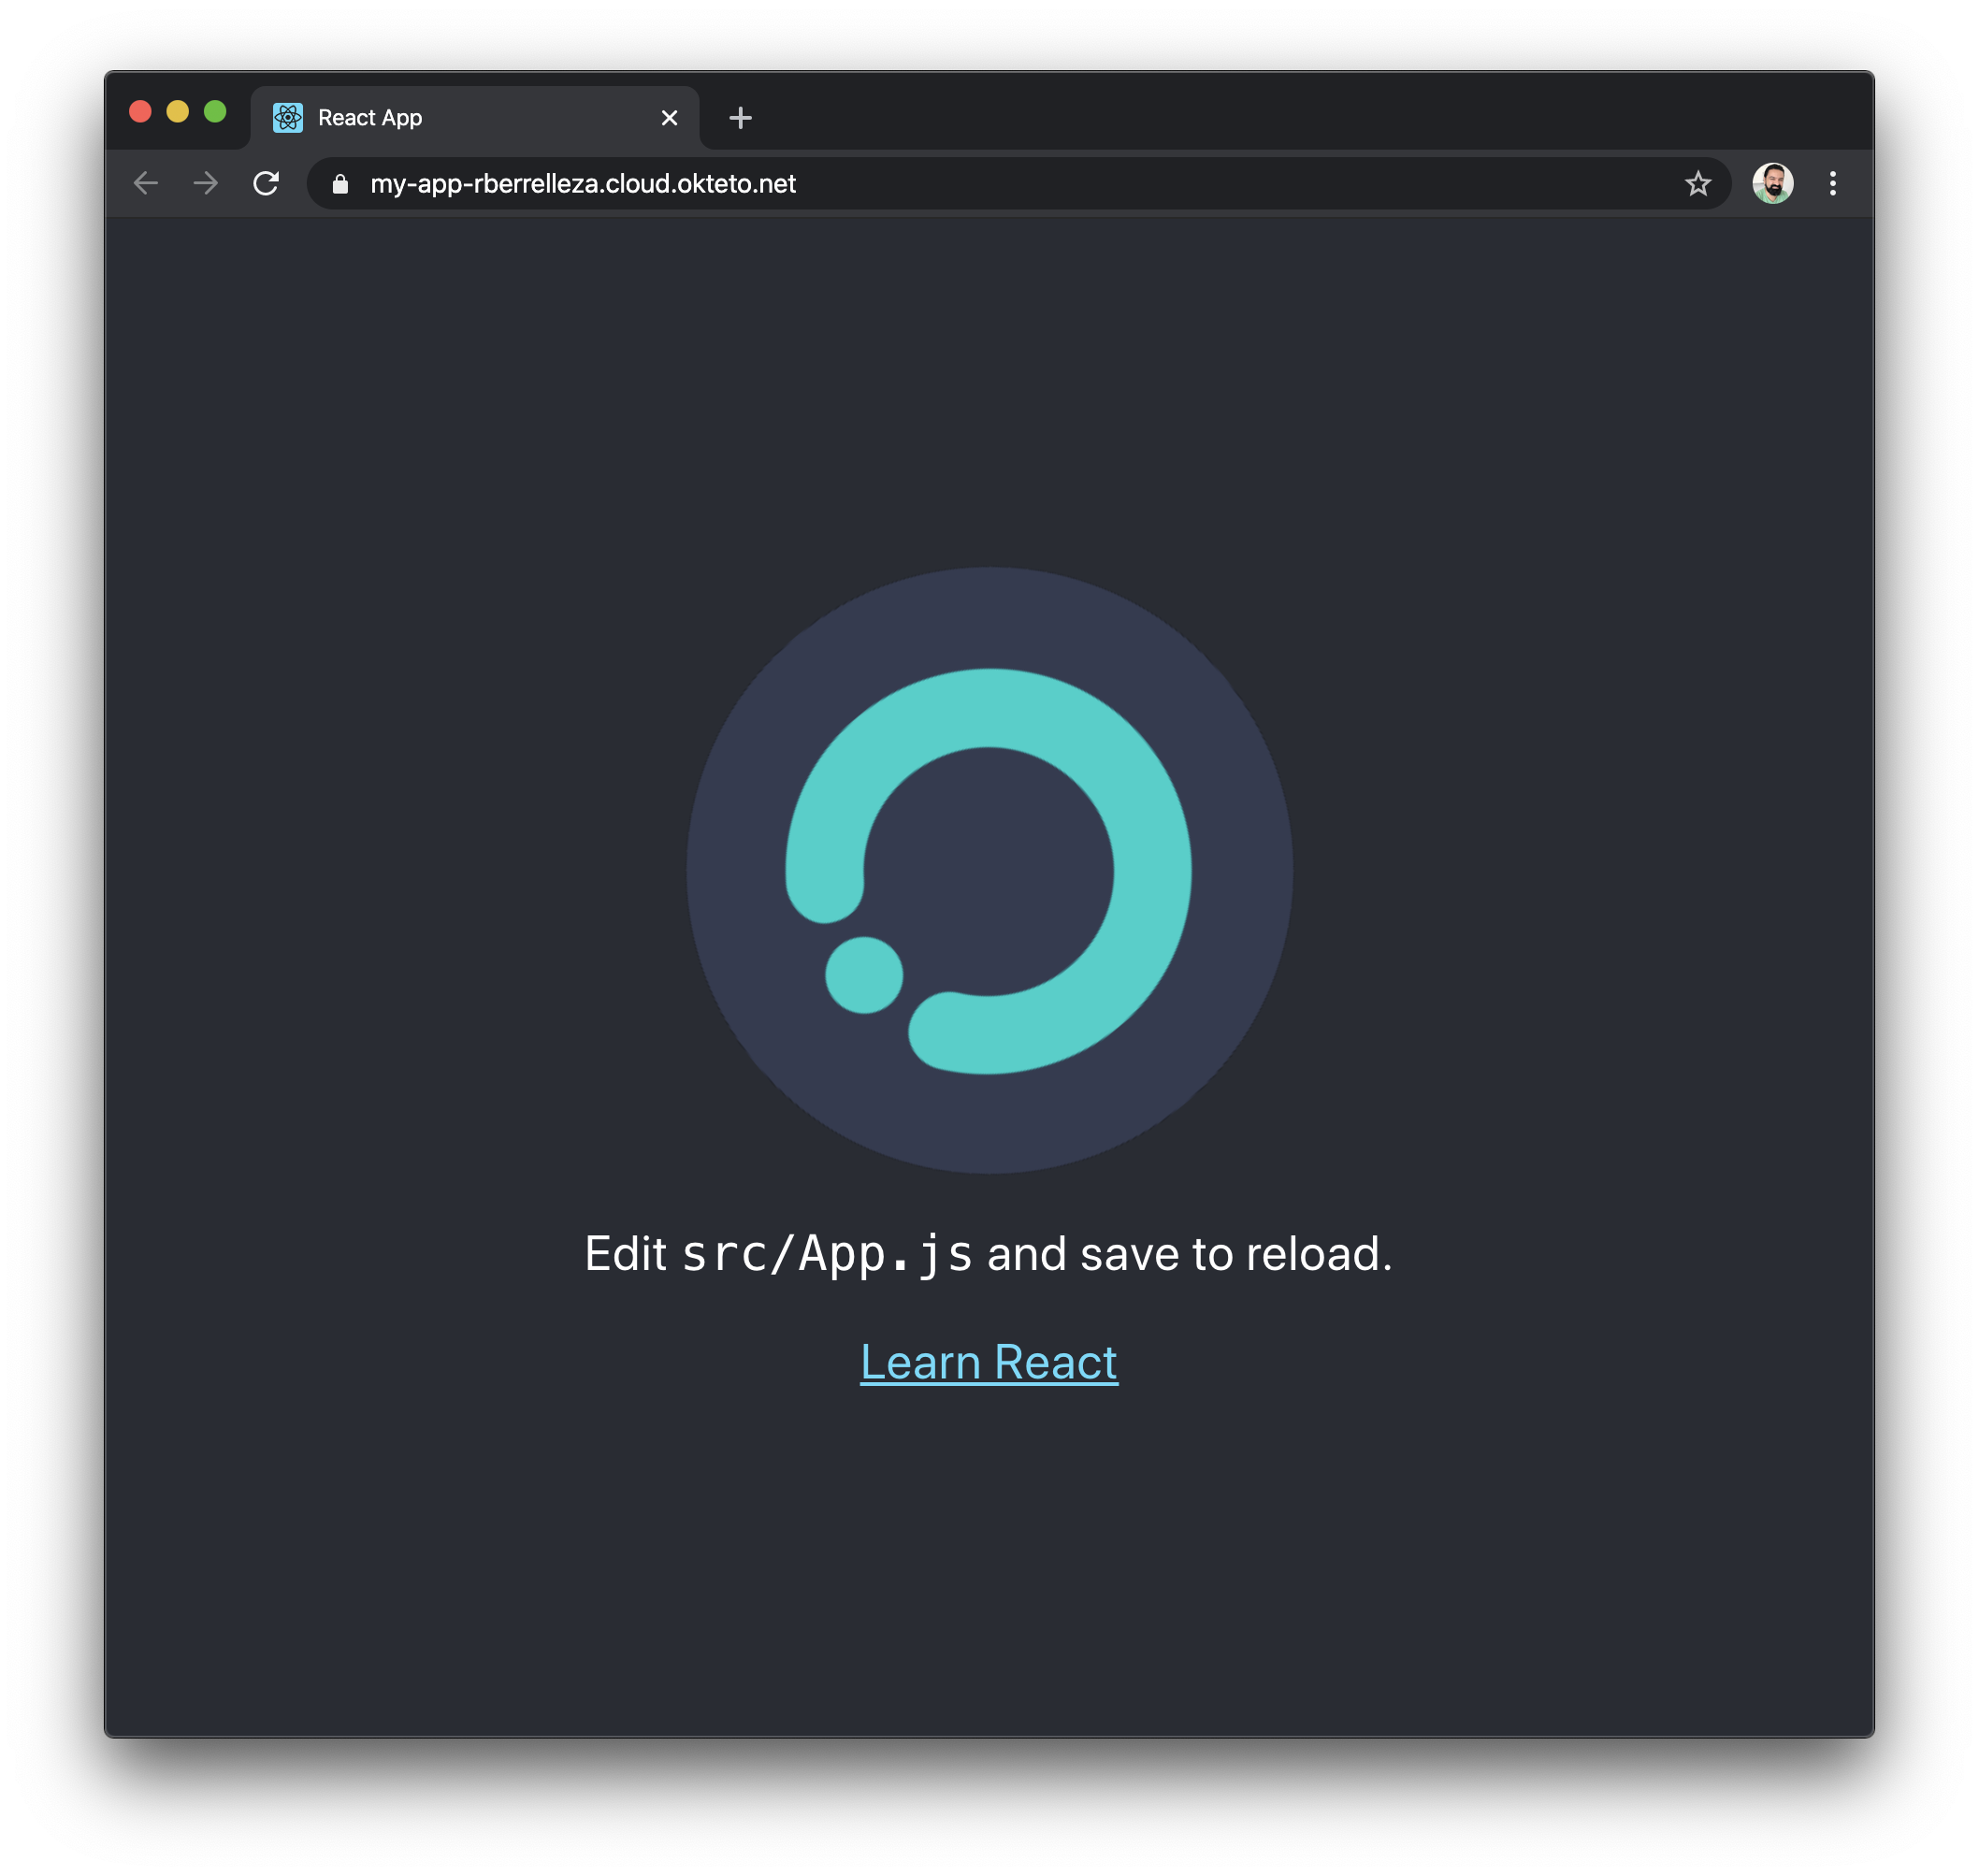
Now that we have our initial application running, it's time to hack on it a little bit. How about we replace the React logo for Okteto's?
Load the my-app folder in your favorite IDE, and open client/src/App.js. This is the file that has the main logic of the application. Modify it so that it uses Okteto's logo instead of React's:
import React from 'react';
import './App.css';

function App() {
  return (
    <div className="App">
      <header className="App-header">
        <img src="https://okteto.com/icons/icon-384x384.png" className="App-logo" alt="logo" />
        <p>
          Edit <code>src/App.js</code> and save to reload.
        </p>
        <a
          className="App-link"
          href="https://reactjs.org"
          target="_blank"
          rel="noopener noreferrer"
        >
          Learn React
        </a>
      </header>
    </div>
  );
}

export default App;
Save the file and go to your browser. Wait for a second, and see how it automatically changes into the Okteto logo. This is the same experience you get when developing locally. But it's happening directly in your remote development environment 🧙♂️!
How did that happen?
When you saved the file, it automatically triggered the following events:
- Okteto detected the local change, and synchronized it to your remote development environment.
- The react dev server detected the change, and automatically regenerated the files.
- React use their dev websocket to automatically reload the content on your browser.
Pretty cool no?
How About an API?
Now that we have our frontend running, how about giving it an API? For this example, let's create a simple API that returns the URL of the logo, instead of having it hardcoded in the URL.
We'll do our API in NodeJS, to keep things in the Javascript family. Go back to your IDE, create server.js and paste the following code on it:
const express = require('express');
const bodyParser = require('body-parser')

const app = express();
const port = process.env.PORT || 3000;

app.use(bodyParser.json());
app.use(bodyParser.urlencoded({ extended: true }));

app.get('/api', (req, res) => {
  res.json({logo: 'https://okteto.com/icons/icon-384x384.png'});
});

app.listen(port, "0.0.0.0", () => console.log(`Listening on port ${port}`));
Then, create package.json, and paste the content below.
{
  "name": "react-express",
  "main": "server.js",
  "scripts": {
    "server": "nodemon server.js"
  },
  "devDependencies": {
    "concurrently": "^5.1.0"
  },
  "dependencies": {
    "body-parser": "^1.19.0",
    "express": "^4.17.1",
    "nodemon": "^2.0.3"
  }
}
Go back to your remote terminal and stop React's web server (ctrl+c should do it). Then, go back to the workdir of your remote environment (/usr/src/app) and install the required dependencies by running yarn install:
okteto> yarn install
yarn install v1.22.4
...
...
...
success Saved lockfile.
Done in 54.50s.
Start your API by running yarn start:
okteto> yarn start
yarn run v1.22.4
warning package.json: No license field
$ node server.js
Listening on port 8080
You can validate that your API is doing the right thing by going back to the browser, add /api to the URL and hit enter. This time, you'll get the output of the API instead of your React app since that's the process that we are currently running.

To run it all together, we are going to use React's API proxy feature. This allows to both serve our static assets as well as API calls from the same server. To enable it, add the proxy key to client/package.json:
...
"proxy": "http://localhost:3000"
...
We are also going to add the following scripts to package.json to be able to start both the react dev server and server.js at the same time:
  ...
  "scripts": {
    "server": "nodemon server.js",
    "client": "yarn --cwd client start",
    "dev": "concurrently --kill-others-on-fail \"PORT=3000 yarn server\" \"DANGEROUSLY_DISABLE_HOST_CHECK=true yarn client\""
  },
  ...
Head back to your remote terminal, stop server.js and run yarn dev to start both servers this time:
okteto> yarn dev
yarn run v1.22.4
...
...
Now that be have both our React app and our API running, let's put them to work together. For this, we are going to use React's componentDidMount() hook to call the API right before the browser displays. To do this, update client/src/App.js as follows:
import React, {Component} from 'react';
import './App.css';

class App extends Component {
  state = {logo: ''};

  componentDidMount(){
    fetch('/api')
    .then(r => r.json())
    .then(b => this.setState({logo: b.logo}))
  }

  render(){
    return(
    <div className="App">
      <header className="App-header">
      <img src={this.state.logo} className="App-logo" alt="logo" />
        <p>
          Edit <code>src/App.js</code> and save to reload.
        </p>
        <a
          className="App-link"
          href="https://reactjs.org"
          target="_blank"
          rel="noopener noreferrer"
        >
          Learn React
        </a>
      </header>
    </div>);
  }
}

export default App;
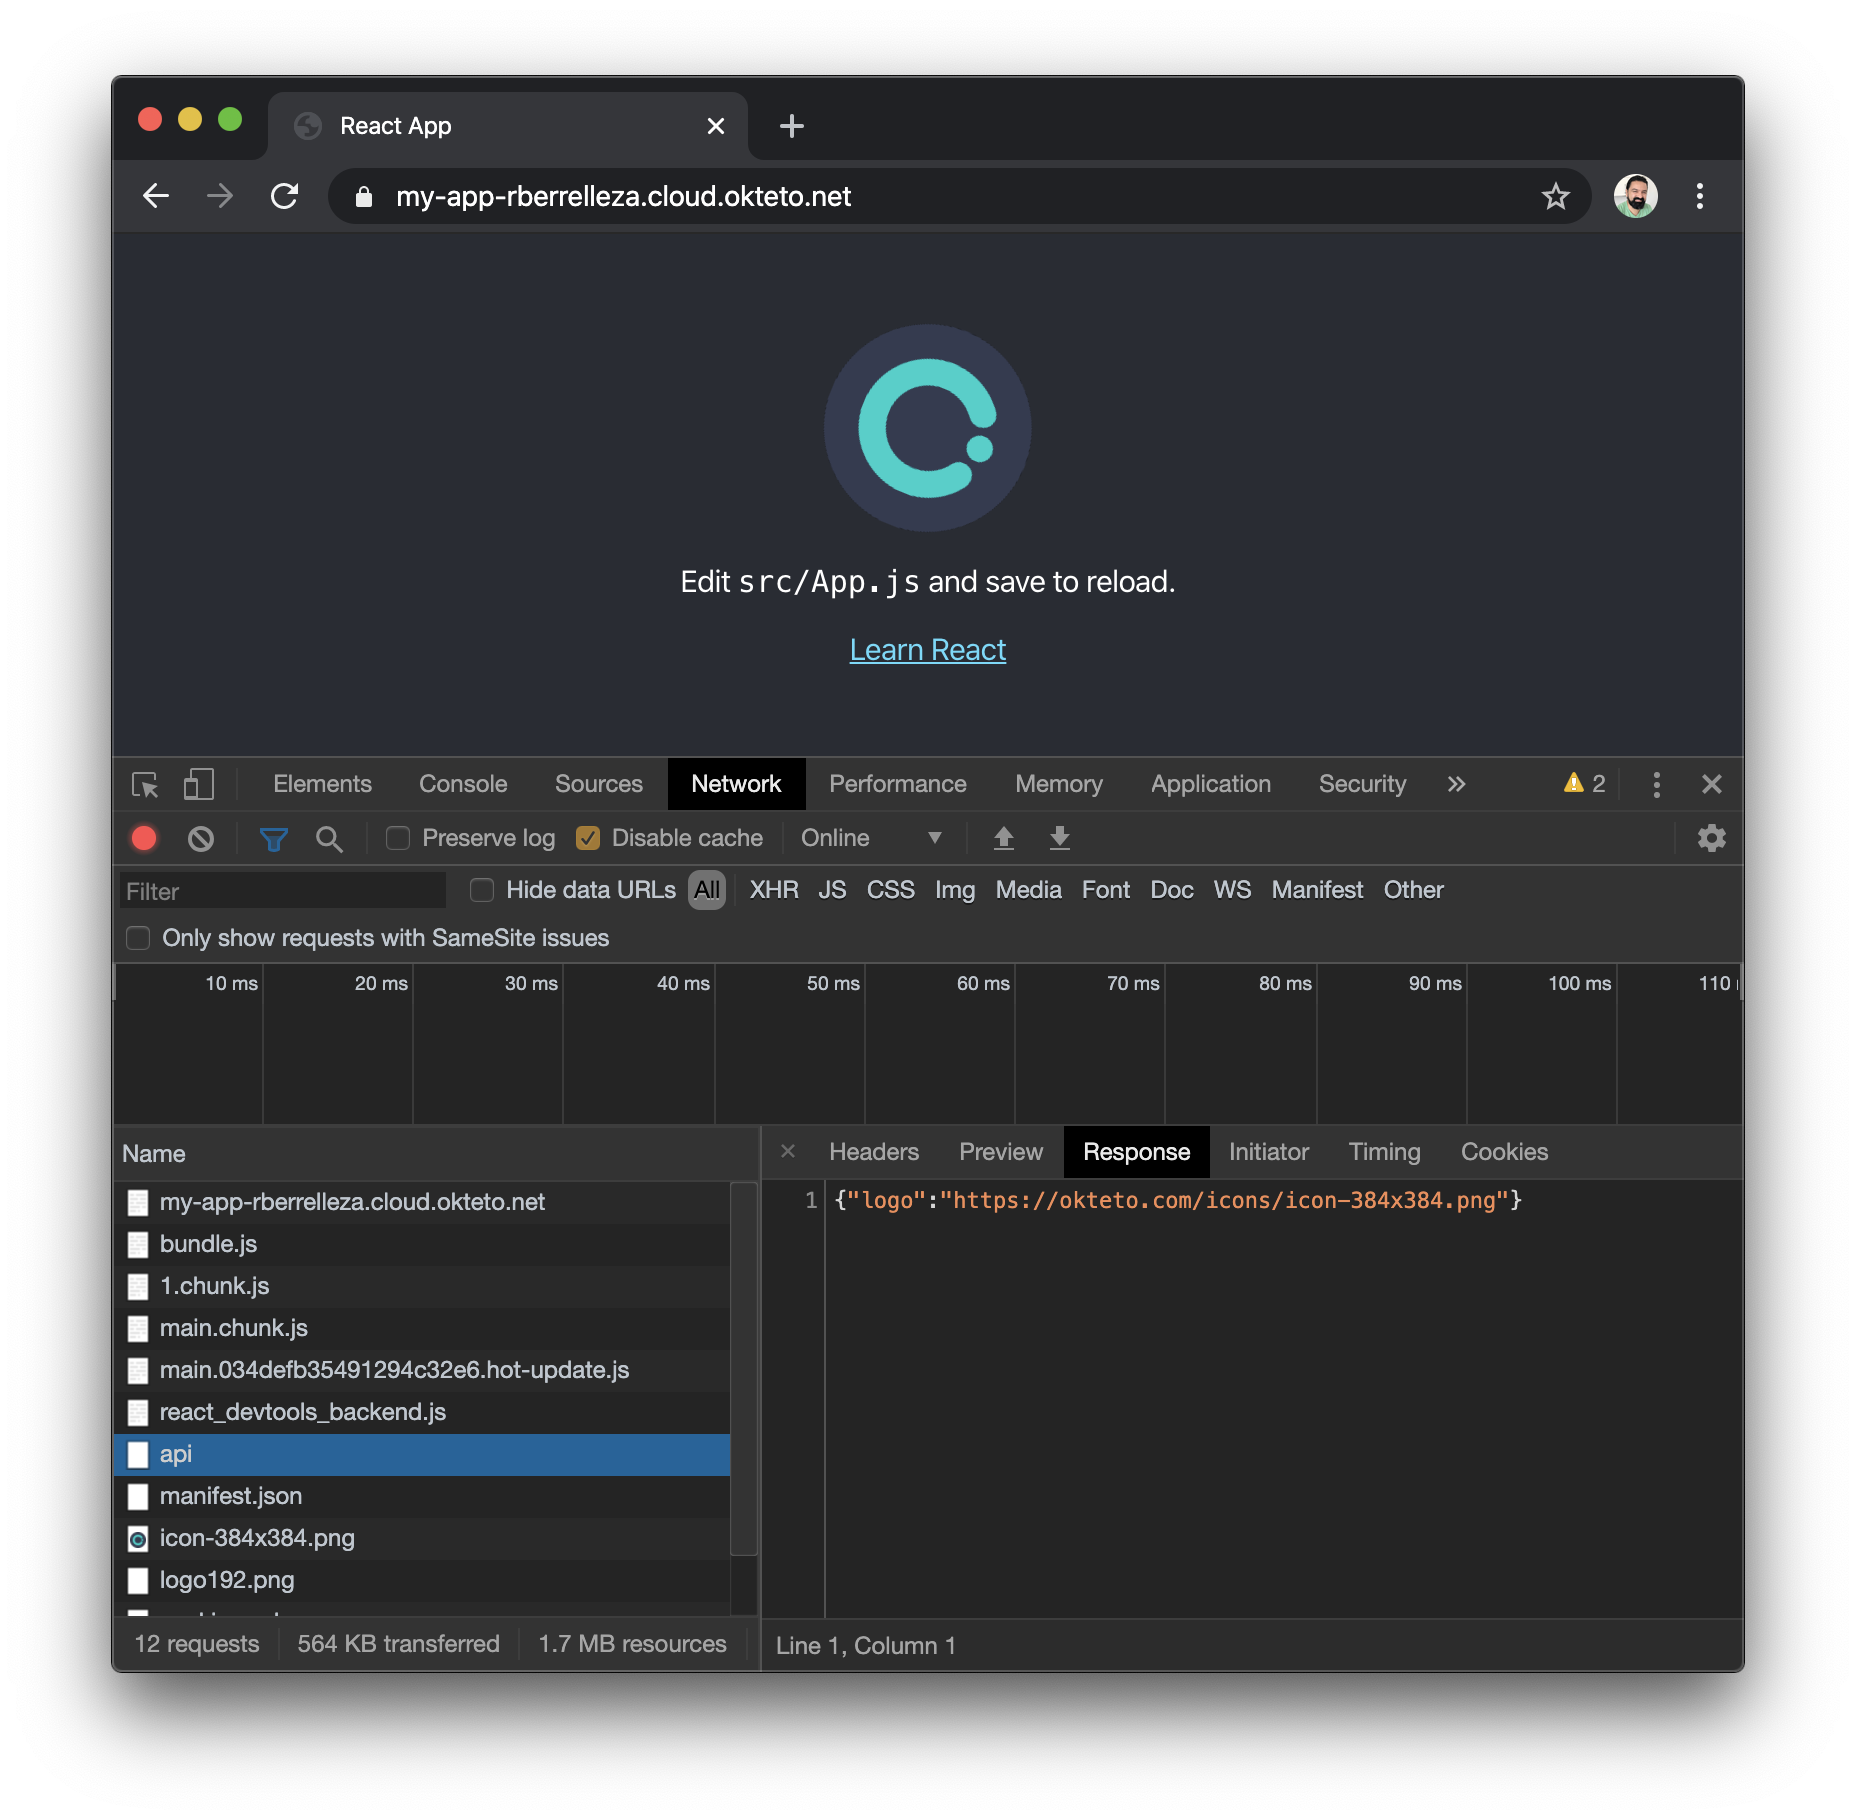
Go back to your browser and reload the page, to see everything working together. If you open your developer tools to inspect the requests, you will be able to see the call to our new API.
Ship it!
Now that our code is ready, it's time to ship it. For this, we are going to take advantage of two of Okteto Cloud's features: Okteto Build Service and the Okteto Registry.
First, let's make a final change to our application to enable production mode. Open server.js and make the following changes:
const express = require('express');
const bodyParser = require('body-parser')
const path = require('path')

const app = express();
const port = process.env.PORT || 3000;

app.use(bodyParser.json());
app.use(bodyParser.urlencoded({ extended: true }));

app.get('/api', (req, res) => {
  res.json({logo: 'https://okteto.com/icons/icon-384x384.png'});
});

if (process.env.NODE_ENV === 'production') {
  // Serve any static files
  app.use(express.static(path.join(__dirname, 'client/build')));

  // Handle React routing, return all requests to React app
  app.get('*', function(req, res) {
    res.sendFile(path.join(__dirname, 'client/build', 'index.html'));
  });
}

app.listen(port, "0.0.0.0", () => console.log(`Listening on port ${port}`));
This will allow our Node API to serve React's static files while in production mode.
Finally, create the following Dockerfile to tell Okteto how to build our application:
FROM okteto/node:10 as build

WORKDIR /usr/src/app

COPY package.json yarn.lock ./
COPY client/package.json client/yarn.lock client/
RUN yarn install
COPY . .
RUN yarn --cwd client build

ENV PORT 8080
ENV NODE_ENV production
CMD ["node", "server.js"]
With this, we are ready to deploy the production version of our application in Okteto Cloud. Head back to your remote terminal, stop the servers by pressing ctrl+c and exit your development environment. Then, simply run okteto push to push your changes to production.
$ okteto push
 i  Development environment deactivated
 i  Running your build in Okteto Cloud...
 ...
 ...
 ------
 > importing cache manifest from registry.cloud.okteto.net/rberrelleza/my-app:okteto:
------
 ✓  Source code pushed to the development environment 'my-app'
The okteto push command automatically does everything you need to fully deploy your application in Okteto Cloud. It will: push your code changes to the Okteto Build service, build a new container remotely, tag it, push it to the Okteto Registry and automatically deploy your application. All of this (and more) in a single command!
Once the command is finished, go back to your browser and go to Okteto Cloud. You'll notice that your application no longer has an Okteto-green icon. That's because this is the production version of your application, not just your development environment!
Wrapping up
In this post we showed you how to build a React + Express app with Okteto Cloud. We talked about the benefits of developing on a fully integrated development environment when compared with just building things locally. Then we talked about how to use Okteto CLI to initialize and deploy your remote development environment. Finally, we walked through how to use the Okteto CLI and the Okteto Build and Registry Services to build, preview and ship your application.
Okteto Cloud is free for all developers. Get your own account at https://cloud.okteto.com and start building your applications today.


 Arsh Sharma