Deploy Your Application to Okteto
This guide explains how to deploy your first app to Okteto.
Requirements
Before you start this tutorial, make sure you fulfill the following requirements:
- You have access to an Okteto instance. Otherwise, follow our installation guide
- You have configured the Okteto CLI with your Okteto instance
What you will be building
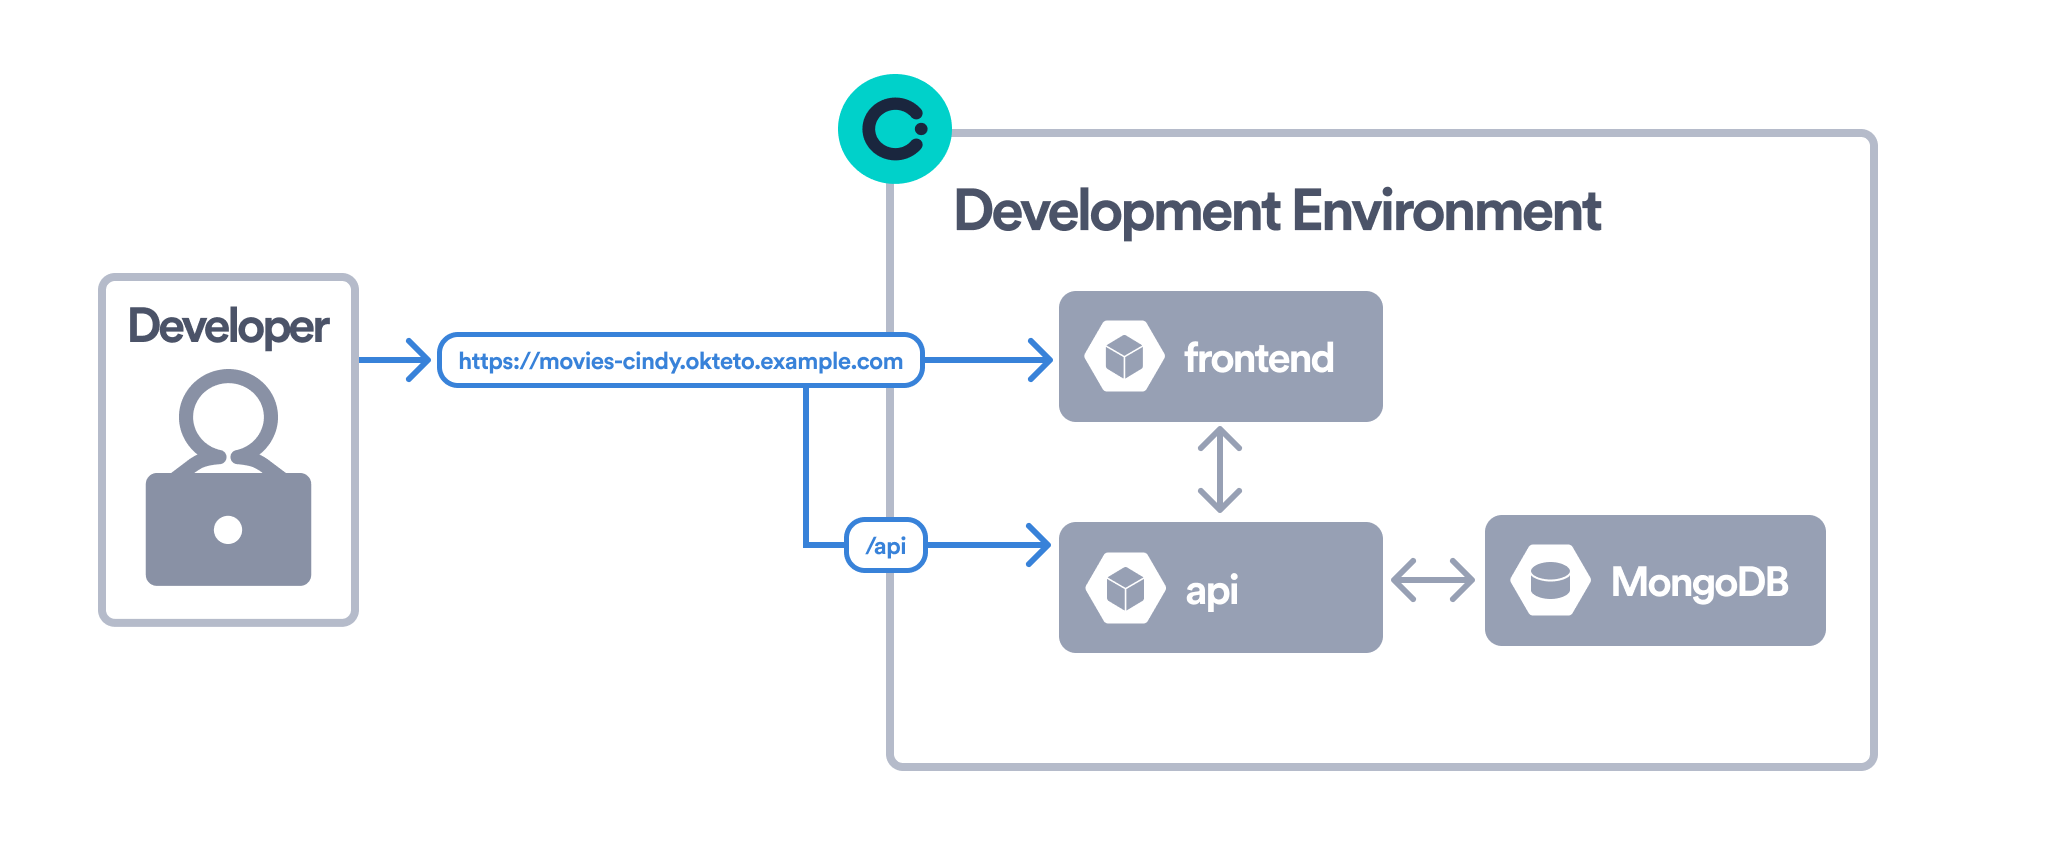
This tutorial will guide you on how to deploy the Movies app to Okteto. The Movies app consists of:
- a React frontend
- a Node.js backend API
- a MongoDB database
This is a representation of the Movies app running in a Development Environment:
In order to deploy the Movies app, you will create your first Okteto Manifest. This is what your Okteto Manifest will look like at the end of the tutorial:
okteto.yaml
build:
  api:
    context: api
  frontend:
    context: frontend

dependencies:
  mongodb:
    repository: https://github.com/okteto/mongodb
    wait: true
    variables:
      MONGODB_PASSWORD: password

deploy:
  - name: Helm Install
    command: |
      helm upgrade --install movies chart \
        --set api.image=${OKTETO_BUILD_API_IMAGE} \
        --set frontend.image=${OKTETO_BUILD_FRONTEND_IMAGE}
This guide will take you through the following sections:
deploy: Configure a list of commands to deploy your applicationdependencies: Configure a list of git repositories to deploy as part of your applicationbuild: Configure a list of images to build for your application
Now that you know what your are building, start the tutorial and deploy your app to Okteto 😎